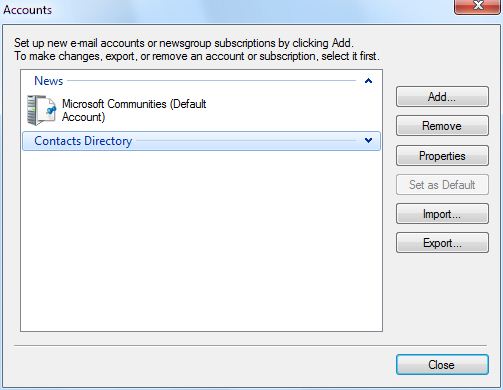
Start Windows Live Mail, and click the "Tools" menu. Select "Accounts". The "Accounts" window appears.
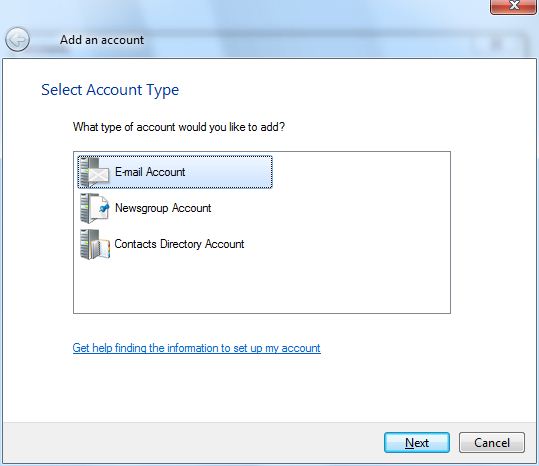
Click the "Add" button. The "Add an account" window appears. Select "E-mail Account". Click the "Next" button.
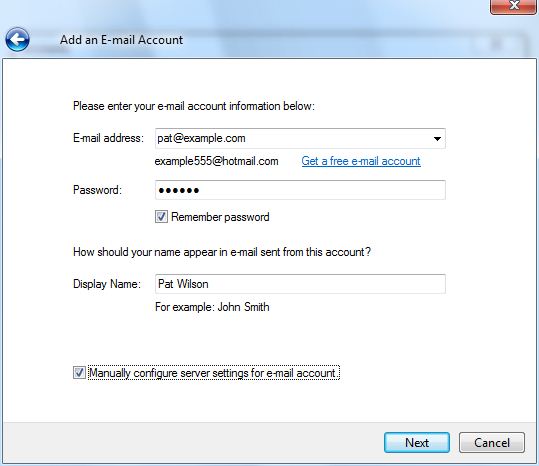
Enter your full email address and your email account password. Enter your name as you'd like it to appear on the "From" line of your outgoing email messages.
Check the box labelled "Manually configure server settings for e-mail account". Click the "Next" button.
Enter securemailserver.ca for both "Incoming server" and "Outgoing server".
Under "Incoming server", check the box labelled "This server requires a secure connection (SSL)".
Enter your full email address in the "Login ID" field.
Under "Outgoing server", check the box labelled "This server requires a secure connection (SSL)". Enter the number 587 in the outgoing server port number field.
Check the box labelled "My outgoing server requires authentication". Click the "Next" button.

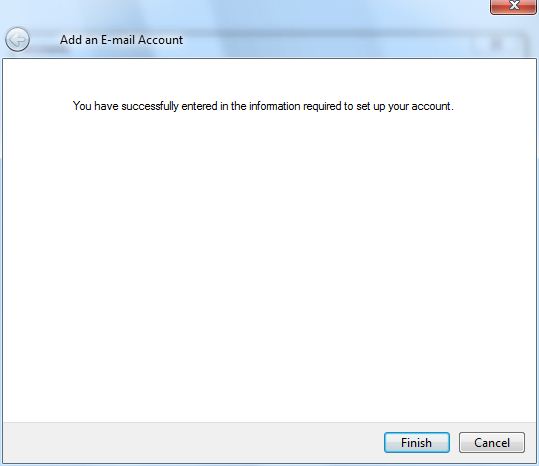
On the final screen, click "Finish" to save your new email account settings.
Click the "Close" button to close the "Accounts" window.