Open Mail (click it on the Dock or open it from the Applications folder).
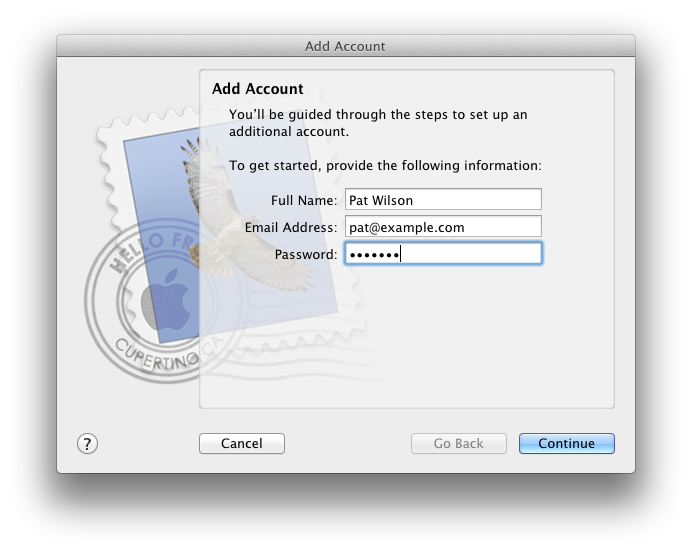
Click the File menu and select "Add Account". The "Add Account" window appears.
Enter your name as you'd like it to appear on the "From" line of your outgoing email messages. Enter your full email address and your email account password. Click "Continue".
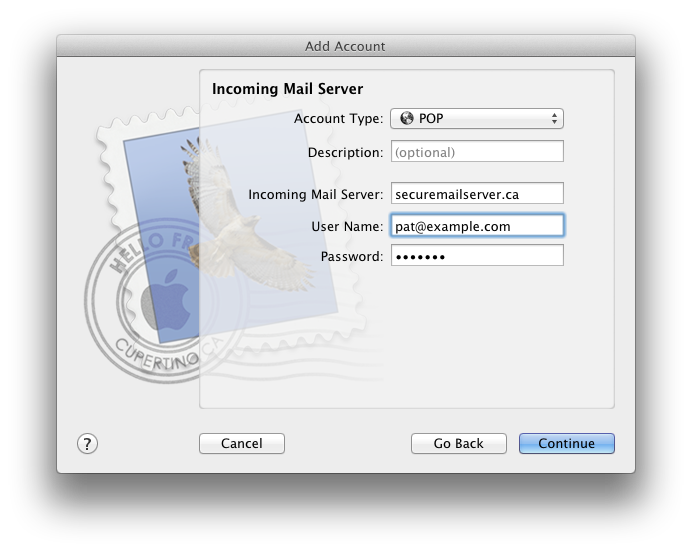
Enter securemailserver.ca in the "Incoming Mail Server" field.
In the "User Name" field enter your full email address. Enter the email account password if it isn't already filled in. Click "Continue".
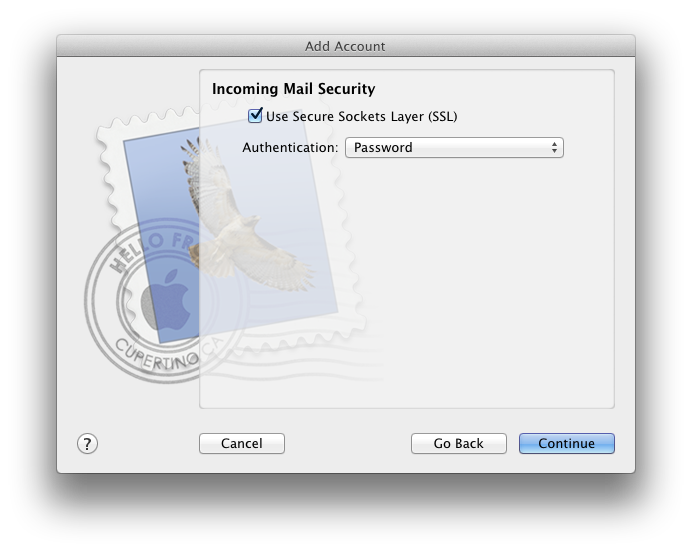
Under "Incoming Mail Security", check "Use Secure Sockets Layer (SSL)". Click "Continue".
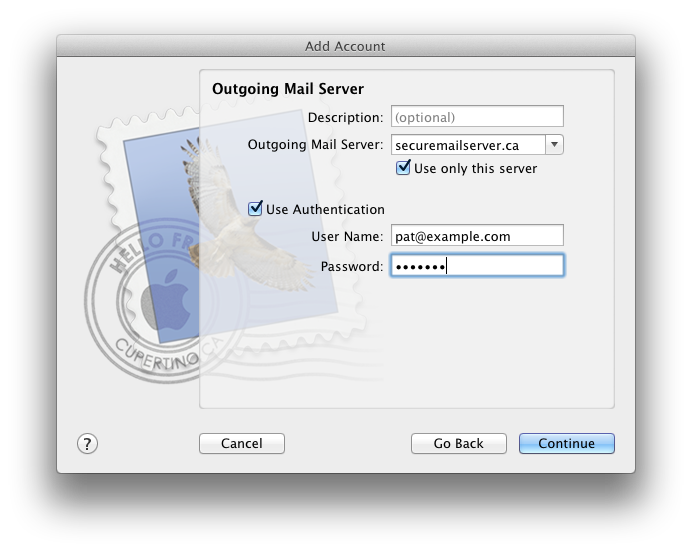
Enter securemailserver.ca in the "Outgoing Mail Server" field.
Check "Use Authentication". Enter your full email address and your email account password. Click "Continue".
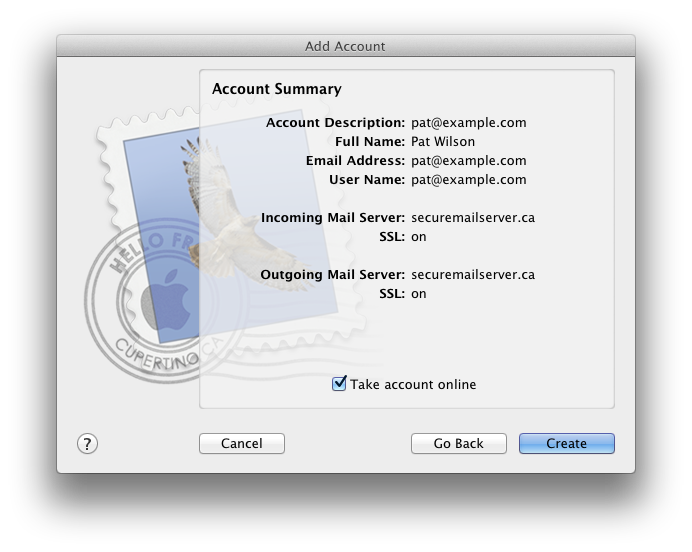
Verify your settings in the Account Summary. Click "Create" to finish the process.